Entering labor hours and material purchases in Incident allows you to track the cost of an incident. These transactions open up reporting doors to help you see where resources have been allocated. With labor transactions, you can actually get two different sets of data. You can track just the labor hours for each employee on the incident or you can also track the labor cost. If an administrator has entered a labor rate for an employee and they enter labor hours on an incident, the system will also calculate their labor cost.
How to Enter Labor Transactions
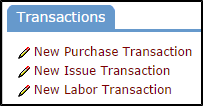
- On the incident form, scroll down to the Transactions section and click on New Labor Transaction. *Note: The incident form must be saved first before you can view the Transaction section.

- The Direct Reports drop down list will default to the name of the employee that is assigned to the incident. *Note: You can select a different name to document labor hours for another direct report who contributed to the incident.
- To enter labor hours, locate the date that time was spent on the request and enter the hours as whole numbers and the minutes as decimals. *Note: To enter time for a date not displayed in the blue bar, use the Date entry field or the Calendar on the left side of the screen to adjust the date range.

- To account for overtime, comp time, or any other time, click on OT next to the corresponding date. A pop-up window will load to enter any other times.

- To change the incident status to Closed Incident, check the Work Close? box. Checking this box will populate the Actual Completion Date on the incident form to today’s date.
- Communicate what was done to resolve the work request in the Action Taken field. Requesters will have access to view the Action Taken note.
- Click the Save button to save the labor entry.
Editing and Deleting Labor Transactions
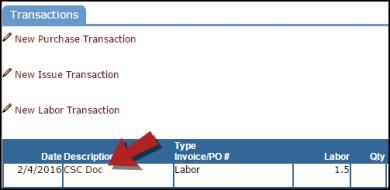
- To edit or delete a Labor Transaction on an incident, click on the Employee's name in the Description field from the Transactions section of the incident.

- The labor entry page will load and you can adjust the time or replace the entry with a 0 to delete. *Note: If the time you need to edit was entered under OT, click on the time shown in red. This will bring back the pop-up box and you can make your changes there.
- Click the Save button to save the changes.
